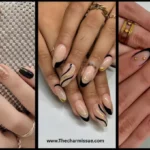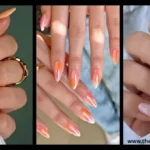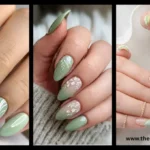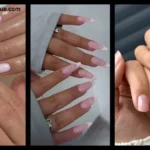
A French manicure is one of the easiest nail styles to recreate at home. Its clean nude base and crisp white tips create a timeless look that works for school, work, weddings, vacations, and everyday wear. The best part is that you don’t need to be a professional nail artist to get beautiful results.
With the right tools, a little patience, and a few simple techniques, you can create salon-worthy French tips from the comfort of your home. This guide walks you through everything you need to know, even if it’s your very first manicure.
What You’ll Need
Before you begin, gather all your supplies so the process goes smoothly.
You’ll need:
- Nail clippers
- Nail file
- Buffer
- Cuticle pusher
- Cotton pads
- Nail polish remover
- Base coat
- Nude or light pink nail polish
- White nail polish
- Top coat
- Thin nail art brush or French tip guide stickers
- Cuticle oil
Having everything ready helps you work more carefully and avoid smudging your polish.
Step 1: Prepare Your Nails
A beautiful French manicure starts with healthy, clean nails.
Remove any old nail polish, wash your hands, and trim your nails to your preferred length. Use a nail file to shape them evenly. Popular shapes for French tips include square, oval, almond, and soft square.
Next, gently push back your cuticles and lightly buff the surface of your nails. This creates a smooth base that helps the polish last longer.
Step 2: Apply a Base Coat
Never skip the base coat.
A good base coat protects your natural nails from staining while helping the polish stick better. Apply one thin layer and allow it to dry completely before moving to the next step.
Step 3: Paint the Base Color
Classic French manicures usually feature a sheer nude, soft pink, or natural beige base.
Apply one or two thin coats instead of one thick coat. Thin layers dry faster and leave a smoother finish. Wait until the base color is completely dry before painting the tips.
Step 4: Create the White Tips
This is the most important step of the manicure.
You have several options:
Use French Tip Stickers
These are perfect for beginners. Place the sticker just below the edge of your nail, paint the exposed tip white, and carefully remove the sticker before the polish fully dries.
Use a Thin Nail Brush
If you have a steady hand, use a detail brush to draw a smooth curved smile line across the tip of each nail.
Use the Polish Brush
Many people create French tips using only the polish brush. Start from one side, gently curve toward the center, then repeat from the opposite side until the line meets evenly.
Don’t worry if your first attempt isn’t perfect. Clean small mistakes with a thin brush dipped in nail polish remover.
Step 5: Let the White Tips Dry
Give the white polish enough time to dry before touching your nails.
Rushing this step often causes smudges, fingerprints, or uneven edges that can ruin the final look.
Step 6: Apply a Top Coat
Once everything is completely dry, seal your manicure with a clear top coat.
A top coat adds shine, smooths the surface, and helps protect the design from chips and scratches. Reapplying a fresh top coat every few days can extend the life of your manicure.
Tips for Perfect French Tips
A few small habits can make a big difference.
- Use thin coats instead of thick ones.
- Let each layer dry completely.
- Rest your painting hand on a table for better control.
- Practice drawing smile lines on paper first.
- Work in good lighting.
- Clean mistakes immediately before the polish dries.
Remember, neat preparation is often more important than artistic skill.
Common Mistakes to Avoid
Even experienced nail lovers make mistakes from time to time.
Try to avoid:
- Applying thick layers of polish
- Skipping the base coat
- Painting tips before the base color dries
- Making uneven smile lines
- Forgetting the top coat
- Using old, thick nail polish
Correcting these simple mistakes can dramatically improve your final results.
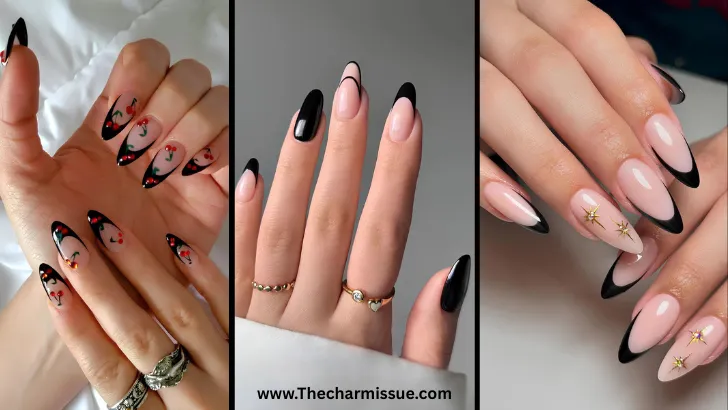
Fun Ways to Customize French Tips
Once you’ve mastered the classic style, try giving your manicure a personal touch.
Popular variations include:
- Colorful French tips
- Glitter French tips
- Chrome French manicure
- Pastel French tips
- Neon French tips
- Floral French tips
- Gold foil accents
- Double French lines
- Ombre French tips
These modern designs keep the timeless French manicure feeling fresh and unique.
For more inspiration, check out our French Tip Nails Guide to explore different styles, shapes, and color ideas. If you’re planning a warm-weather manicure, don’t miss our Summer French Tip Nails collection for bright seasonal designs.
How to Make Your French Manicure Last Longer
To keep your nails looking fresh:
- Apply cuticle oil every day.
- Moisturize your hands regularly.
- Wear gloves while cleaning.
- Avoid picking at the polish.
- Refresh the top coat every two or three days.
These simple habits can help your manicure stay beautiful for up to two weeks.
Final Thoughts
Learning how to do French tips at home is easier than many people expect. With a few basic tools and a little practice, you can create an elegant manicure that looks polished and professional without visiting a salon.
Start with the classic white French tip, then experiment with different colors, finishes, and nail art as your confidence grows. The more you practice, the cleaner and more precise your French tips will become.
FAQs
1. Can beginners do French tips at home?
Yes. French tip stickers and thin nail brushes make it easy for beginners to achieve clean, even results.
2. What is the easiest way to create French tips?
Using French tip guide stickers is the simplest method because they help create neat, consistent smile lines.
3. How long does a DIY French manicure last?
With proper care and a quality top coat, a regular French manicure can last about a week, while gel versions last longer.
4. Which nail shape looks best with French tips?
Square, soft square, almond, and oval nails are all excellent choices for French manicures.
5. Do I need special tools for French tips?
No. While guide stickers and detail brushes help, you can also create French tips using a regular nail polish brush with practice.